
I do the majority of the cooking in our household.
There are 2 meals that I will not make because my husband has mastered them.
One is Chili the other is........
RIBS !
I also must admit, I was not a big fan of ribs either. I didn't like the sticky, gooey coating from the Bar-b-que sauce that is usually poured over the ribs while cooking.
This recipe has completely changed my attitude! They are made with a dry rub which my hubby has tweeked the recipe to suit our taste. Yes, there is some time and work involved, but the end result is soooo worth it.
Who Loves Ya Baby-Back Ribs
You start out with your rack of ribs and dry rub. Preheat your oven to 250 degrees.
Dry Rub
3 Tablespoons light brown sugar, tightly packed
1 1/2 Tablespoons kosher salt
1 Tablespoon Chili Powder
1/2 Teaspoon ground Black Pepper
1/2 Teaspoon Cayenne Pepper
1/2 Teaspoon Old Bay seasoning
1/2 Teaspoon Rubbed Thyme
1/2 Teaspoon Onion Powder
In a bowl, combine all dry ingredients and mix well. Place each slab of ribs on a piece of heavy-duty aluminum foil, shiny side down. Sprinkle each side generously with the dry rub. Pat the dry rub into the meat. refrigerate the ribs for a minimum of 1 hour. Then create your braising liquid
Braising Liquid
1 Cup Beer
2 Tablespoons white wine vinegar
2 Tablespoons Worcestershire sauce
1 Tablespoon honey
2 cloves of garlic, chopped.
Put the braising liquid in a small saucepan until needed.

Place the ribs on a baking sheet. Open one end of the foil on each slab and pour half of the braising liquid into each foil packet. Tilt the baking sheet in order to equally distribute the braising liquid.
Braise the ribs in the oven for 2 1/2 hours.

Carefully transfer the braising liquid out from the ribs into a medium saucepan. Bring the liquid to a simmer and reduce by half or until it reaches a thick syrupy consistency. Brush the glaze onto the ribs and place them under the broiler just until the glaze caramelizes lightly.
Remove and slice each slab into bone portions.
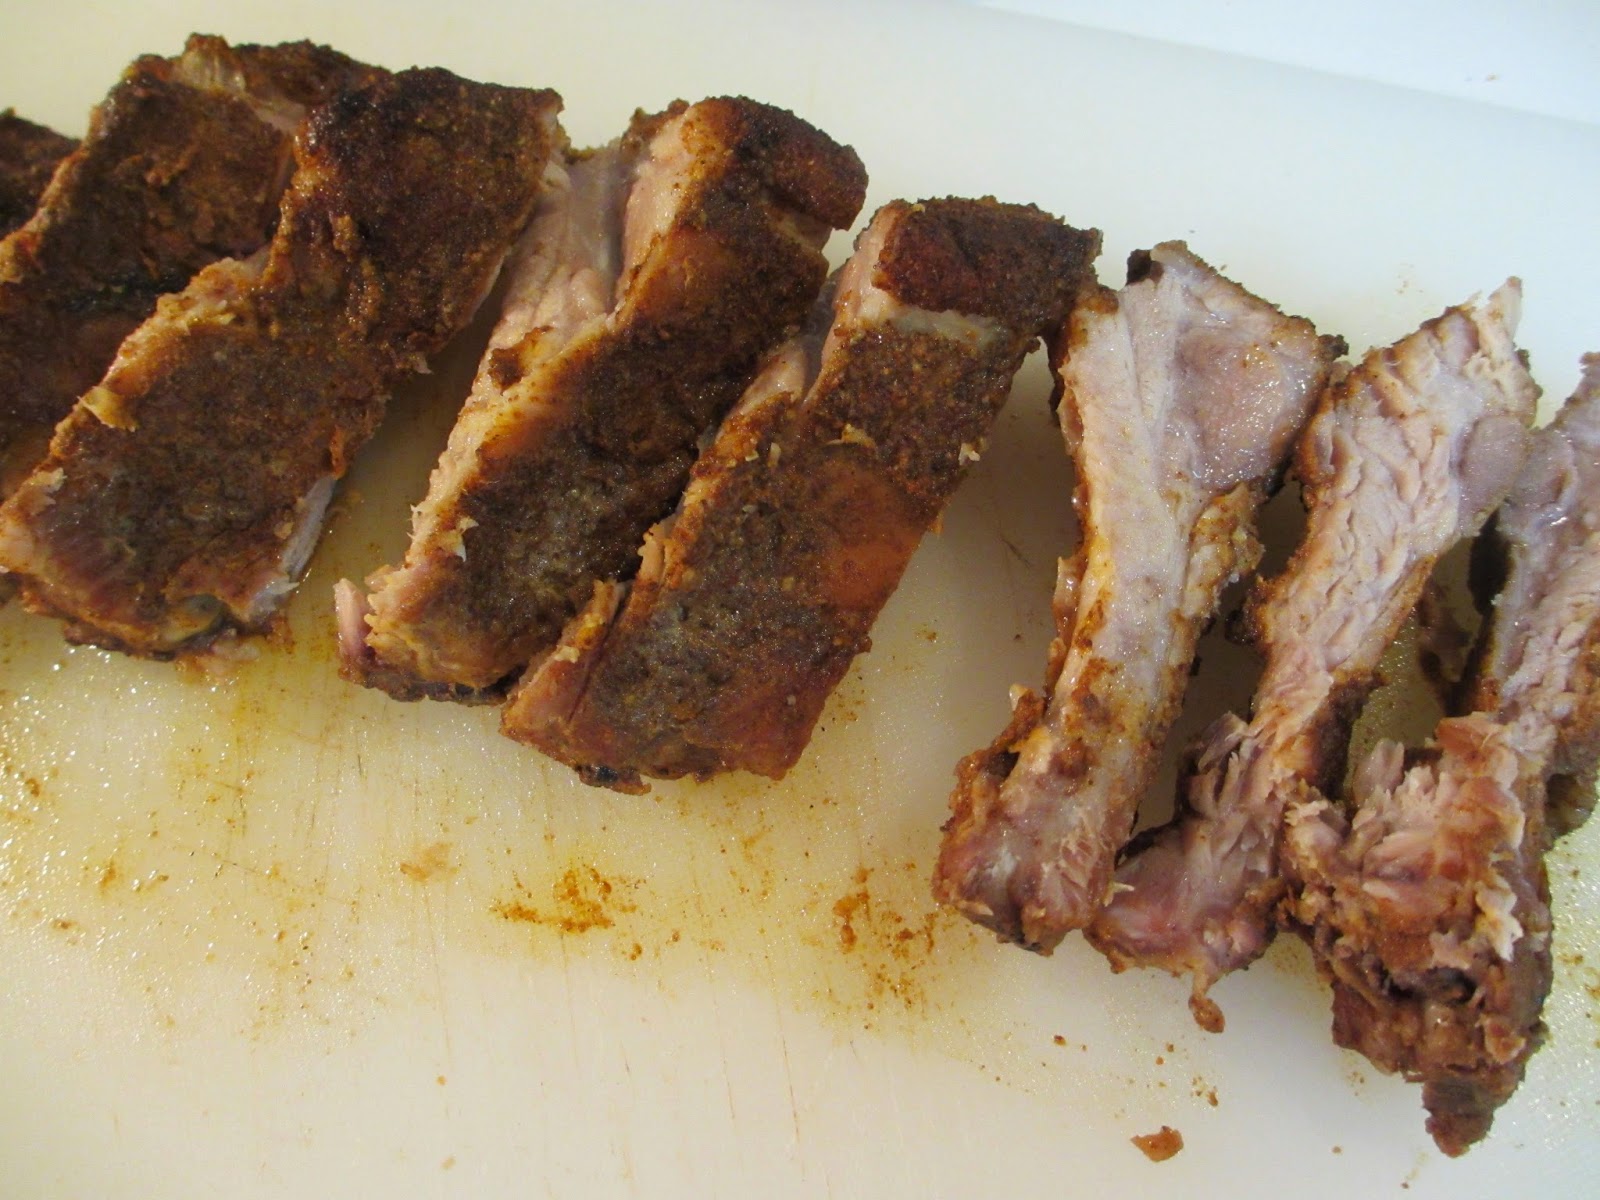
Serve !!

They are fabulous. I still get sticky fingers....but not as bad and they are so worth it!
YUM oh my I need to make them this way
ReplyDeletethank you for sharing
Brenda
These look wonderful! I will have to try making them this way! Thank you for sharing:)
ReplyDeleteOh YUM!!! Going to share your recipe with my daughter. Thanks so much!
ReplyDeleteThese sound delicious.
ReplyDeleteGonna' try!
Oh WOW these look and sound so good! I will have to try this! Thanks for sharing!
ReplyDelete